
This recipe makes TWO 12.5" blocks!
Preparation:
Read through instructions prior to beginning.
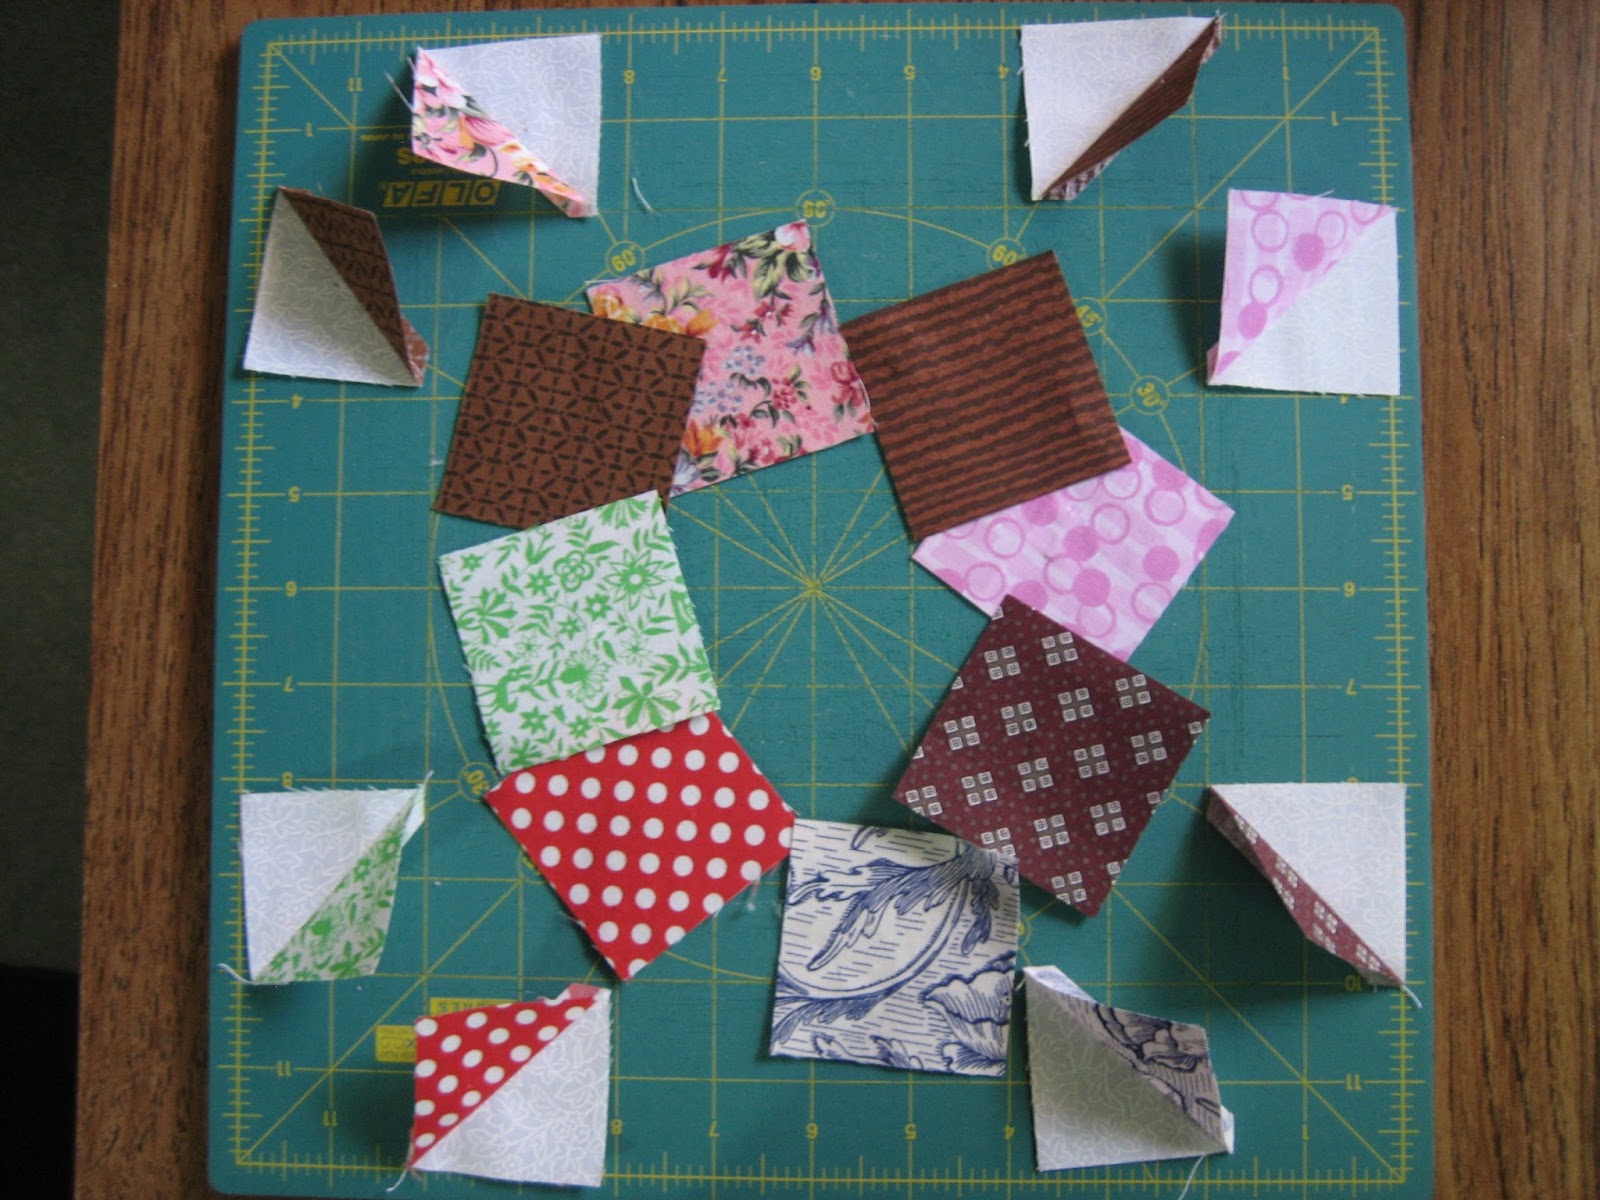
Cut TWO each of 32 different scrap fabrics; 2 3/8" square.
Cut 64 x 2 3/8" squares background fabric
Cut 32 x 2" squares background fabric
1. Pencil line diagonally across the wrong side of the background (32 X 2
3/8") squares.
2. Select eight prints you would like for the center star.
Pair one of each of these up with a background square, right sides together,
and with the pencil line on top. Chain stitch 1/4" from diagonal line, and
again down the other side of the line. Stitch as accurately as possible to
avoid trimming squares later!

3. Cut across the center line, and finger press (or iron) the
seams in your preferred manner. (Open, or toward the side of the darker fabric).
You will have HST squares - set aside eight of them for the second block.
4. Next, take a look at the top picture, and choose eight colors
you like for the points located at the N., S., E., & W. positions. Pair all
of the print blocks (16) with background squares, chain stitch all 16 squares
with the same technique as step #1, stitching 1/4" from diagonal. Follow
step #3 as well, and set aside 16 of these squares for the second pillow block. |
| N, S, E, and W points after making HSTs |
5. Select eight more print colors, and repeat these steps again, sewing only ONE of each of these prints. Cut them apart to make 16 HSTs and again, set aside the duplicates for that second pillow block..
6. To pair up the colored print squares that are remaining,
you may want to now lay out all your center HST's to better visualize your placements.
The four center blocks, (as well as the three squares in each corner) are HST squares made
of colored prints only, instead of the background fabric. You need to match these up, and then sew
them with the same HST method, and again setting aside the duplicates for block two.
 |
| Lay out the center section and assemble |

 |
| Set cent aside, and now layout N,S,E,& W points so you can layout the corner colors |

7. Add the 2" background squares to your design board, and you should now have 62 x 2" squares all ready to assemble!
 |
| Now fill in the center, and the 2" background squares You are ready to assemble the columns, and then the rows! |
Next, assemble the second square, add your borders, & quilt the top(s)if desired.
NOTE: If you plan to quilt the block prior to attaching backing, oversize borders are recommended to account for quilting 'shrinkage'. The blocks may then be trimmed to size prior to attaching backing.
That's it! Please let me know if you have any questions!
Great tute! And love your pillows! The quilting on them looks amazing :*)
ReplyDeleteThanks for the great tutorial!
ReplyDeleteThis looks like a great block! I can't wait to try it! Thanks for sharing.
ReplyDelete